Instructions for Installing the Brake on Roxa Comp
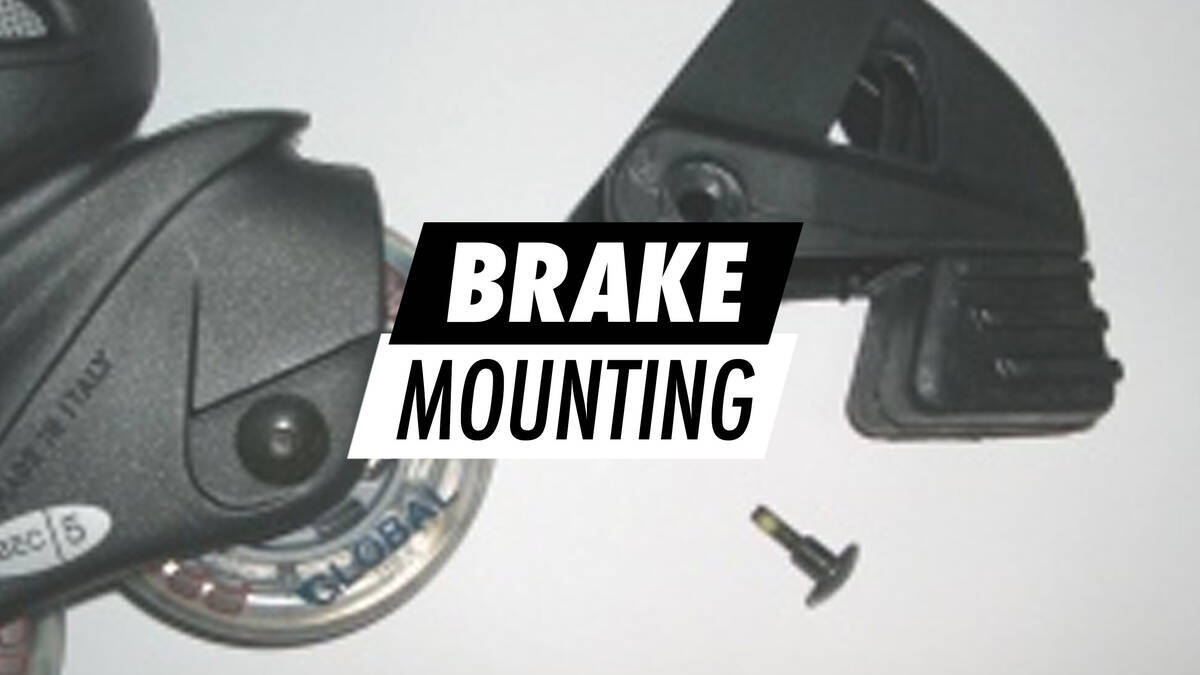
Purchasing the Roxa Comp includes a brake pad that is simple to install.
Required tools: 2 hex tools or skate-tool.
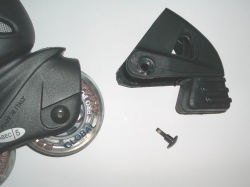
The brake pad fits into the brake housing. Pay attention to the unique bolt required for the brake.
Step 1
Holding a hex tool on either side of the wheel, the existing bolt and axle are loosened and taken out.
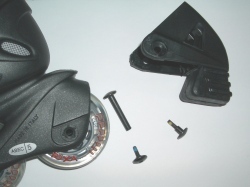
Two hex tools are used to remove the current axle and bolt.
Step 2
The brake housing is positioned over the rear wheel. Ensure the pin located at the back of the skate aligns with the top section of the brake housing.
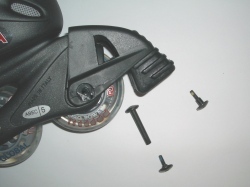
To mount the brake housing, press it over the rear wheel.
Step 3
Note that the brake's bolt is longer than the previous one. Attach this bolt along with the axle.

Employ the newly provided longer bolt.
Step 4
Secure the axle and the extended bolt, ensuring it is tightened firmly (but not excessively, to allow wheel movement). Keep the previous bolt for potential future use without the brake.
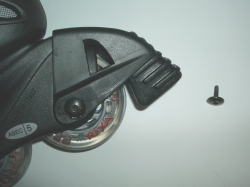
The brake housing with the brake pad is mounted, using the axle and the new bolt.
