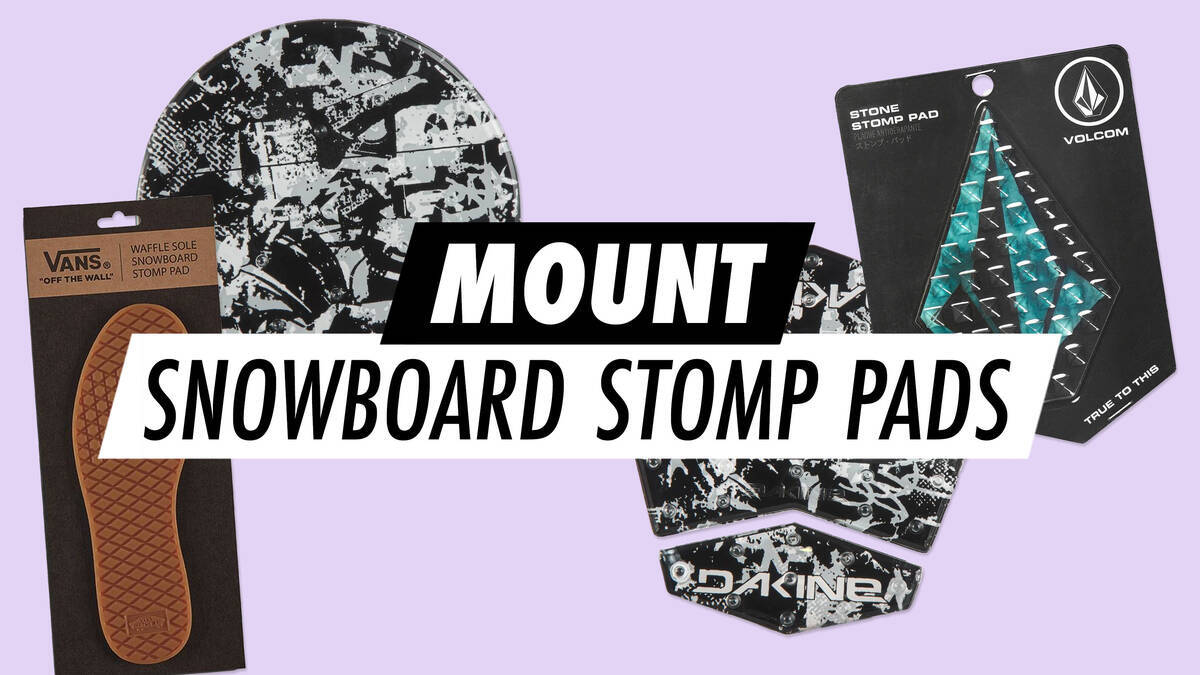
Steps to Attach Snowboard Stomp Pads

Snowboard stomp pads enhance your ability to control the board when one boot isn't secured, such as during ski lift use. Be sure to have alcohol and a blow dryer ready when applying the pads.
The snowboard's top is smooth, while a stomp pad features a textured design to grip the boot's sole. It's used to stand on when you remove your back foot from the binding, simplifying board control with your boot. Stomp pads are typically crafted from rubber, foam, knobs, or a mix of these, and are installed in front of your back foot – between the bindings.
Guide to Installing a Snowboard Stomp Pad
- Ensure both board and stomp pad are at room temperature (approx. 21 °C).
- Clean the area with rubbing alcohol. It should remain clean, smooth, and dry. Avoid touching afterward.
- Heat the snowboard surface and the stomp pad adhesive with a blow dryer on high (keep the dryer moving to prevent any snowboard damage).
- Immediately position the stomp pad and apply firm pressure. Stand on it gently without any twisting – more weight will improve the bond.
- Let the stomp pad settle for 24 hours at room temperature.
If you have questions or uncertainties, do not hesitate to contact us.
